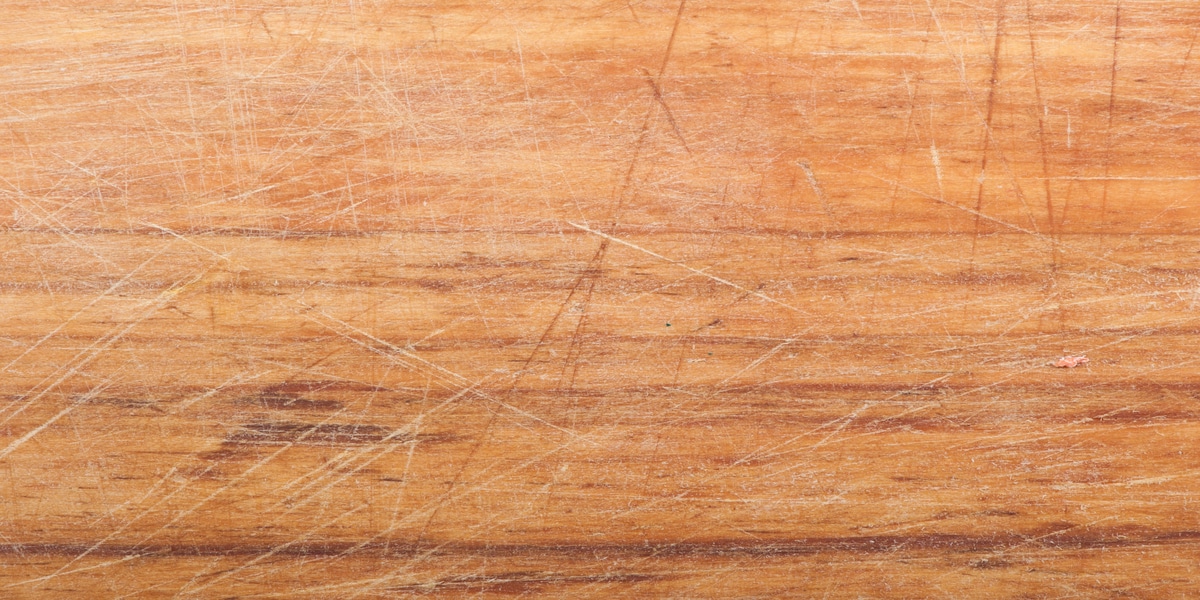
How to Get Rid of Scuff Marks on Hardwood Floors

Getting rid of scuff marks on hardwood floors begins with understanding the kind of finish your wood has. Drop a small amount of water on a hidden spot to test it. If the water beads up, your floor likely has a polyurethane or another surface-sealed finish. If the water seeps into the grain, it’s a penetrating finish that needs different care. Knowing this helps you avoid methods that might damage your custom hardwood floors during your next home improvement project.
Light scuff marks are often easy to remove using household materials. A pink pencil eraser can rub away light streaks caused by shoes, while a tennis ball attached to a broom handle helps remove larger scuffs without scratching. A mild baking soda and water paste also works as a natural cleaner, gently lifting residue when applied with a clean, terrycloth towel in small circular motions. These methods keep the floor’s finish intact while restoring its shine.
For deeper scuff marks and more visible damage, a more advanced approach is needed. Professional wood restoration products are specially made for sealed finishes, helping to remove tough marks without stripping the protective layer. When you’re dealing with deep scratches, use grade 0000 super fine steel wool with gentle pressure. Its texture is fine enough to buff away imperfections safely, especially on polyurethane-coated surfaces. Always test any cleaner or abrasive in a hidden spot first and wait a full day to check for discoloration or dulling.
Protecting your floors from future marks is just as important as cleaning them. Add protective pads under the legs of furniture to prevent friction damage, and place durable mats at entrances to capture dirt and grit before it reaches the wood. Regular sweeping or vacuuming helps reduce small particles that cause scratches, while trimming pet nails prevents claw marks that dull the finish over time. These simple habits maintain the natural elegance of your custom hardwood floors and preserve the investment in your home improvement efforts.
With the right care routine and preventive steps, hardwood floors can remain smooth, polished, and beautiful for years—bringing warmth, durability, and style to every corner of your home.
Identify the Finish & Test Your Method First
Before removing scuff marks from your custom hardwood floors, it’s essential to understand what type of finish protects them. Each finish reacts differently to cleaning products and techniques, so identifying it first prevents costly mistakes. Hardwood floors typically have one of two finish types: surface-sealed or penetrating.
Surface-sealed finishes include polyurethane, varnish, and shellac. These sit on top of the wood, forming a durable, glossy shield that resists moisture and dirt. In contrast, penetrating finishes, such as oil or wax, soak deep into the wood grain, enhancing its natural beauty and providing protection from within. Knowing your finish type helps you choose the safest and most effective cleaning method.
The Water Drop Test
To identify your floor’s finish, perform a quick water drop test:
- If the water beads up, you have a surface-sealed finish.
- If the water soaks in, you have a penetrating finish.
Always conduct this test in a hidden spot—inside a closet or under furniture—to avoid visible marks. Once you know your floor type, you can select the right products and techniques for cleaning and maintenance.
Test Before You Clean
Before applying any cleaner or method across the floor, test it on a concealed section. This step prevents damage or discoloration that might require professional help later. Use a hardwood-friendly cleaner for surface-sealed floors and a laminate-safe cleaner for engineered or laminate surfaces. Products not designed for your specific finish can dull the sheen or weaken protective layers.
If the scuff marks persist or if your floor has deep wear, it may be time to consider sanding and refinishing. This process restores the original beauty of custom hardwood floors and removes years of surface damage. Professionals can ensure the sanding depth, stain color, and sealant all match your flooring’s condition and design.
By combining proper finish identification, safe testing, and the right cleaning approach, you can maintain your hardwood’s rich appearance. And when in doubt, seeking professional help ensures your floors receive the care they deserve, extending their lifespan and preserving the investment you’ve made in your home.
Easy Ways to Remove Light Scuff Marks
Removing light scuff marks from custom hardwood floors doesn’t always require harsh chemicals or professional-grade solutions. In many cases, simple household tools and gentle techniques are enough to restore the shine and protect the finish. Before starting, identify whether your floors have polyurethane finishes or oil-based polyurethane coatings, as both require mild cleaning methods to avoid damaging the protective layer.
- Pencil Eraser Technique
A regular pink pencil eraser is one of the simplest ways to remove small rubber scuffs. Gently rub the eraser along the wood grain instead of across it. This motion prevents fine scratches while lifting the mark from the surface. Always check your progress under light to avoid over-rubbing. - Tennis Ball Method
For marks spread across larger areas, cut an X-shaped slit into a tennis ball and attach it to the end of a broomstick handle. This makes cleaning easy on your back while using the ball’s felt surface to buff away streaks. It’s effective for quick touch-ups on polyurethane finishes without using liquid cleaners. - Baking Soda Paste
When marks prove more stubborn, mix three spoonfuls of baking soda with one spoonful of water to form a soft paste. Apply it to the scuff using a damp microfiber cloth, rubbing gently in circular motions. Baking soda acts as a mild abrasive that lifts grime without scratching or dulling the surface. - Microfiber Cloth Technique
For general maintenance, a slightly damp microfiber cloth works well to remove recent scuffs or dirt buildup. Use small circular motions and moderate pressure. Microfiber lifts dirt effectively while protecting the smooth sheen typical of oil-based polyurethane finishes. - Magic Eraser Application
Add a small amount of water to a magic eraser sponge before lightly scrubbing persistent marks. Its fine texture removes scuffs efficiently, but avoid excessive pressure to preserve the floor’s protective layer. - WD-40 Method
When all else fails, spray a tiny amount of WD-40 on a microfiber cloth and wipe the mark away. Immediately follow with mild soap and water to remove any oily residue that could attract more dirt later. This method works particularly well on older marks without dulling the surface shine.
After cleaning, inspect your floors under bright light from several angles. Look for any remaining residue or streaks that may need a second pass. To keep your custom hardwood floors in pristine condition, finish the process with a light coat of furniture polish suitable for wood surfaces. This restores the natural luster and adds a thin protective layer that resists future scuffs and scratches.
Safe Products & Tools for Deeper Marks
Deep scuff marks that cut through the surface layer of hardwood floors require specialized care to restore both appearance and protection. Floors with polyurethane seals or oil finishes respond best to cleaning products designed specifically for wood restoration. These professional-grade finish restorers contain fine abrasive particles that smooth out rough surfaces while adding a thin layer of protection. Apply the product with a clean, lint-free applicator pad, moving in small circular motions to blend the treatment evenly across the damaged area. Always follow the drying and curing instructions provided by the manufacturer to achieve a consistent finish.
For scratches and dents deeper than 1/16 inch, wood filler offers the most effective repair solution. Choose a filler that matches the wood species—such as oak, maple, or walnut—and the floor’s stain color, whether it’s honey, chestnut, or ebony. Use a putty knife to spread the filler slightly above the surface, allowing for natural shrinkage during drying. Once fully hardened, sand the area with 220-grit sandpaper, always following the direction of the wood grain to avoid visible marks. After sanding, apply a thin layer of finish restorer to blend the repaired section with the surrounding floor, ensuring a seamless look.
For persistent scuffs that don’t require filling, super fine steel wool (grade 0000) provides an excellent solution. Its delicate fibers remove surface residue and scuff marks without scratching or dulling the protective layer. Use gentle, even strokes until the mark fades.
Before using any cleaner, filler, or abrasive material, always test the product on a hidden part of the floor, such as under furniture or inside a closet. This small precaution confirms that the cleaner or filler is compatible with your hardwood’s specific finish and prevents accidental discoloration or surface damage on visible areas.
Preventative Care to Keep Floors Looking New
Regular maintenance prevents scuff marks and extends the life of hardwood floors, keeping them looking polished for years. Protecting your floors proactively reduces damage from foot traffic, furniture movement, and everyday wear.
Place furniture pads under chair legs, table legs, and heavy appliances like refrigerators to distribute weight evenly and prevent scratches when items shift. Use felt pads and replace them every three months as the adhesive wears down to maintain their effectiveness.
Encourage household members and guests to remove shoes in high-traffic areas, keeping dirt, gravel, and small rocks off the wood surface. Install durable, commercial-grade floor mats at all exterior entrances to trap outdoor debris before it reaches your flooring.
Adding a protective floor coating every three to five years, according to your manufacturer’s recommendations, preserves the finish and reinforces the wood against scratches and stains. Daily sweeping with a microfiber dust mop removes fine dirt and particles that act like sandpaper under foot traffic, preventing gradual wear.
By combining furniture pads, entry mats, protective coatings, and regular cleaning, you create a comprehensive floor care system. Each step works together to safeguard the natural beauty and structural integrity of your hardwood, ensuring it remains a lasting investment in your home.


